
How to Set Up an American Mahjong Game, Step by Step
Last updated: Nov 18, 2026
Mahjong Rules Guide › Level 2 — Set up & the Charleston · Guide 7 of 25
Setting up an American mahjong game is methodical and fair: you sort your tiles, build and shuffle the wall, establish seating by compass direction, and then conduct the Charleston step by step, a three-pass exchange that redistributes tiles before anyone sees their initial hand. Every setup follows the same order, so once you've done it a few times, you'll move through it smoothly with your players.
What You Need
Before you sit down, gather:
One complete 160-tile American mahjong set (includes the standard 152 tiles plus extras)
Two dice (used to determine where the wall breaks)
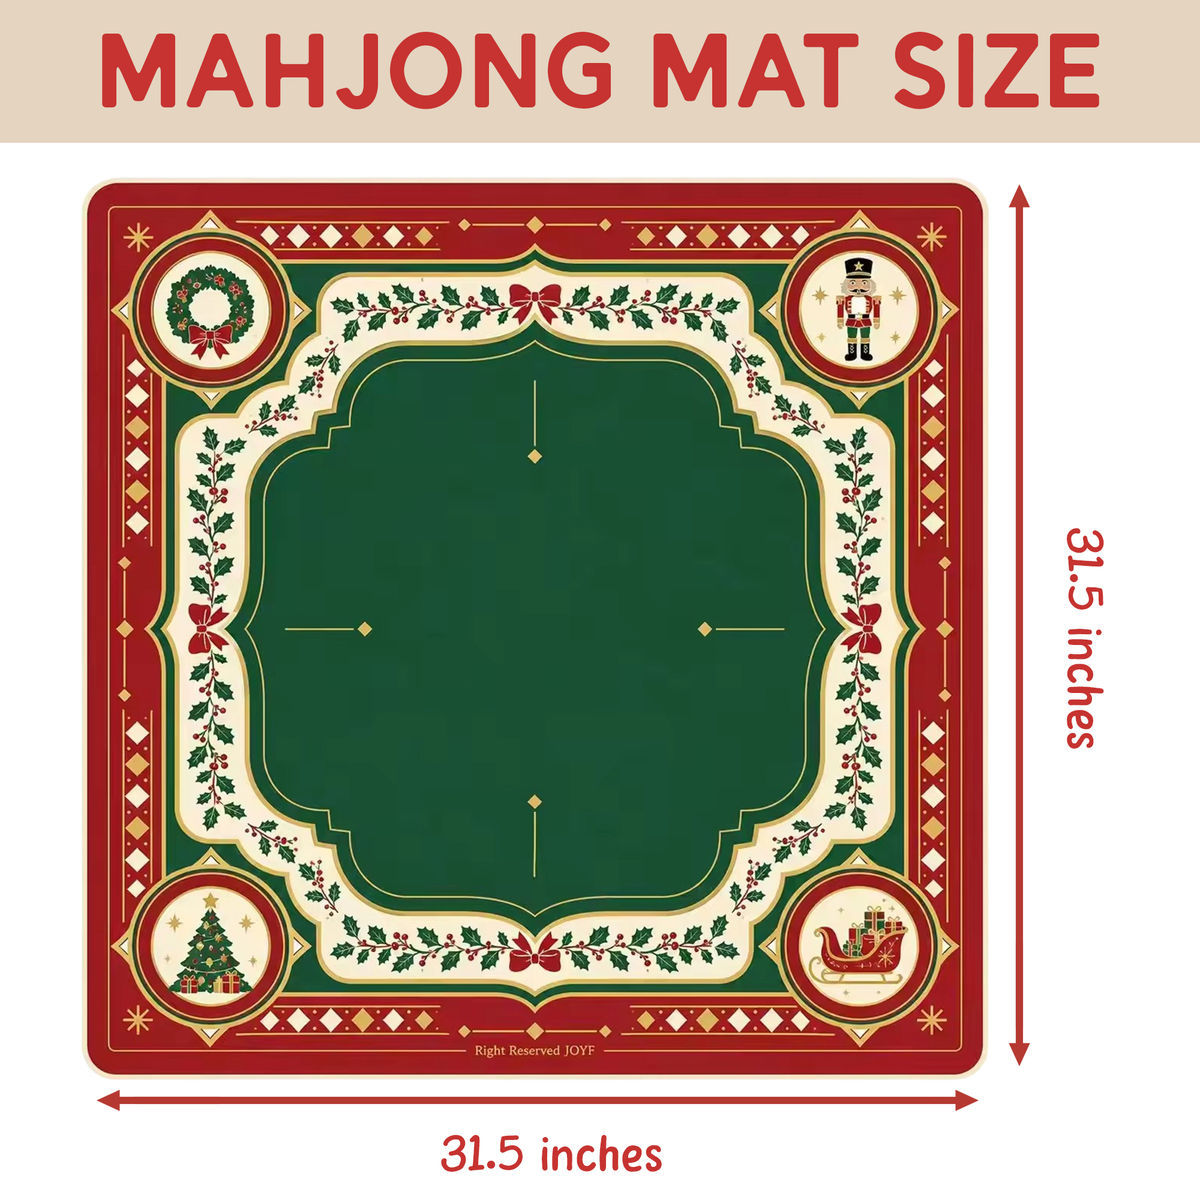
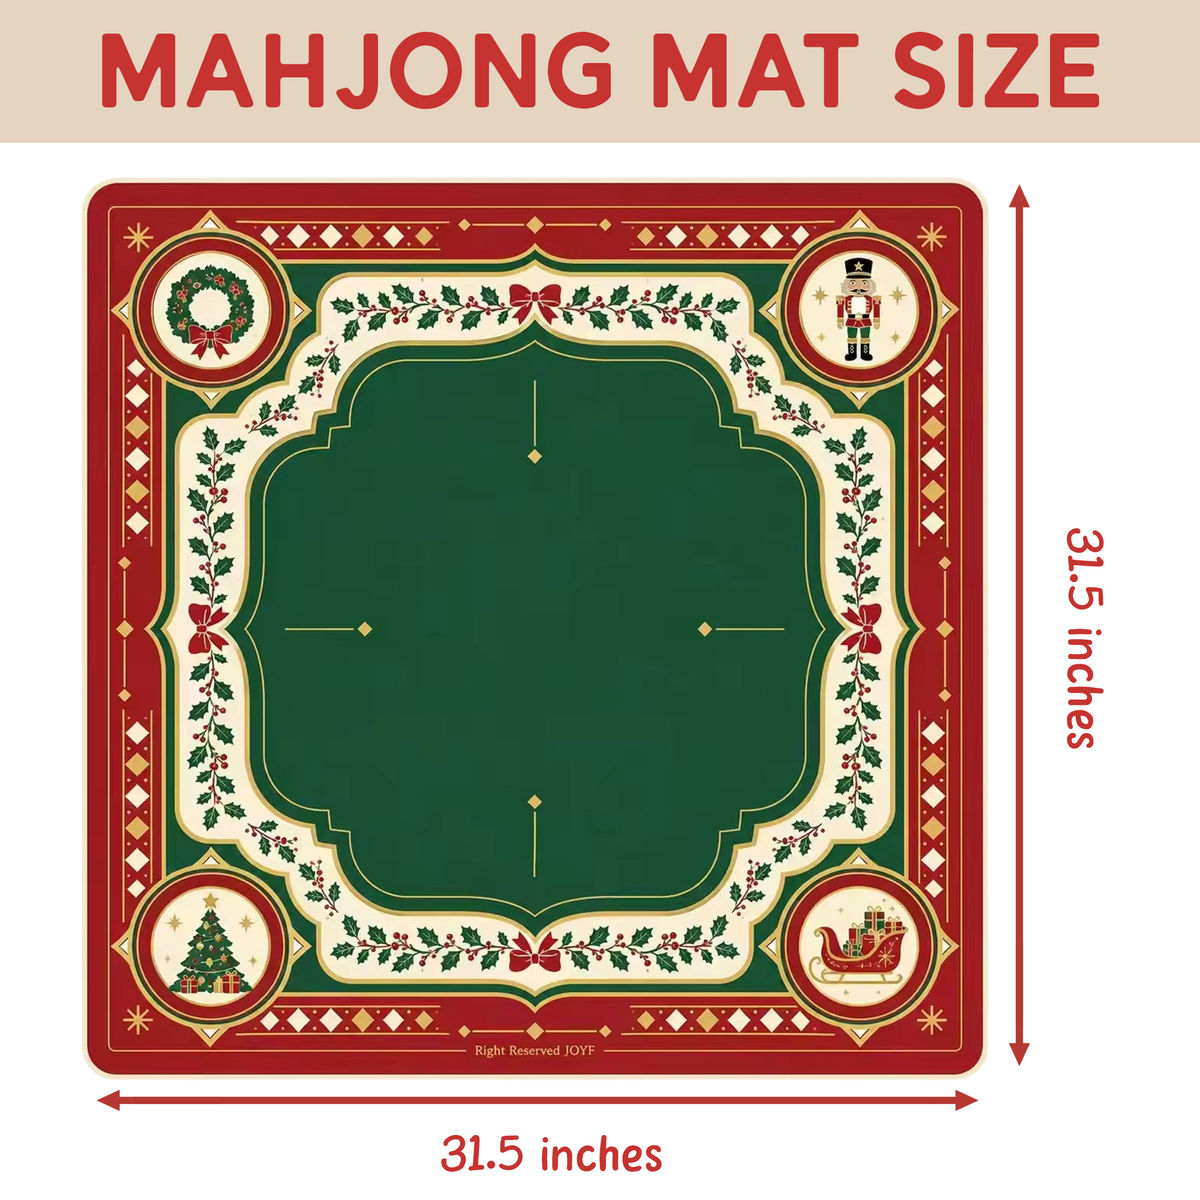
A mahjong mat with marked zones for each player and the discard area
Four racks or pushers to hold tiles during play
The current year's NMJL card (the hand reference card published each spring)
Four players and a flat, level playing surface
If you're playing with a new set, inspect all 160 tiles and remove any blank or spare tiles so everyone plays with the same standard count.
Step 1: Assign Wind Positions and Seating
Wind position determines turn order and hand size. East always deals first and receives 14 tiles; North, South, and West each receive 13. Before anything else:
Decide who sits East. This can be by agreement, rotation from the previous game, or random draw.
Seat East at the designated East position on your mat.
Place North across from South, with West and East completing the square (or any orientation—what matters is the relative positions, not compass direction).
Each player now knows their wind, their turn order (East → North → West → South → East), and their role in the Charleston.
The mat usually shows where each wind sits. If you're playing without a mat, simply agree on who is where and stick with it.
Step 2: Sort and Mix All Tiles
Before building the wall, all 160 tiles must be thoroughly shuffled so no player controls the order:
Dump all tiles facedown in the center of the table.
Have all four players mix them with their hands for at least 60 seconds, moving them around randomly and turning them over as you stir.
Keep mixing until no player knows where any specific tile is.
Take your time here—a well-mixed wall is the foundation of a fair game.
This is not a stylistic step; it ensures that the draw from the wall later is genuinely random and no one can predict or manipulate which tile comes next.
Step 3: Build the Wall
The wall is a long line of stacked tiles that players will draw from during play. Building it correctly is essential to understanding how the wall works and where it breaks:
With all tiles still facedown and mixed, East begins building the wall by pushing tiles into a long line across the table.
Each tile should be pushed end-to-end in a continuous row, facedown, so all players can see it but no one knows the order.
Continue until all 160 tiles form one long wall (or two parallel rows if your table is small).
The wall should be neutral territory—not closer to any one player.
The exact shape (one line or two parallel rows) depends on your table size, but the principle is the same: all tiles are in one contiguous, facedown barrier between the center and the players.
Step 4: Roll Dice to Break the Wall
The dice break determines where the wall is split to begin the deal. This is random and fair:
East rolls both dice. Add the numbers (totals range from 2 to 12).
Starting from the right end of East's wall section, count that many tiles toward the left and mark the break point (often with a joker placed aside or just mentally noted).
The deal will begin from this break point.
If the number seems unclear or anyone doubts the count, reroll or recount together to be sure.
This step is covered in detail in our guide to building the wall and breaking it. The dice break ensures that East cannot choose a favorable break point by eye.
Step 5: Deal Tiles to Each Player
Now tiles move from the wall to each player's rack. Why East starts with 14 tiles is explained in our dealing guide, but here's the sequence:
Starting at the break point, East draws four tiles (one at a time, facedown) and places them on his rack.
North draws four; West draws four; South draws four. East draws another four. Repeat.
Continue this rotation: East, North, West, South, East, North, West, South.
Stop when East has drawn 14 tiles total and North, West, and South each have 13.
All tiles remain facedown on racks until the Charleston is complete.
The order is always the same: clockwise starting from East. Do not skip anyone or change direction. After the deal, all four players have their starting hand, but they should not look at any tiles yet.
Step 6: Prepare for the Charleston
Before anyone is allowed to look at their tiles, the Charleston step by step must happen. The Charleston is mandatory and consists of three passes:
Pass 1 (Right): Each player passes three tiles to the player on their right.
Pass 2 (Across): Each player passes three tiles to the player across from them.
Pass 3 (Left): Each player passes three tiles to the player on their left (or makes a blind pass).
Make sure all four players understand that the Charleston is not optional—it happens every game, and no one should peek at their tiles until after all three passes are complete.
Gear for this step
Practising how to set up an american mahjong game, step by step? It's easier with the right setup — see our mahjong mats.
Step 7: Conduct the Charleston
The Charleston redistributes tiles and adds strategy to setup:
East starts by selecting three tiles from their rack (still facedown) and passing them to North without looking at them.
North passes three to West; West passes three to South; South passes three back to East.
Now pass two (Across): East passes three to West; North passes three to South; West passes three to East; South passes three to North.
Pass three (Left): East passes three to South; North passes three to East; West passes three to North; South passes three to West. (Or, if any player says "stop," that pass becomes a blind pass of three facedown tiles.)
After all three passes, each player still has 13 or 14 tiles on their rack.
The Charleston is when players begin to think strategically. Some will pass tiles that match their hand goal; others will pass high-value tiles to disrupt opponents. Our detailed guide on what to pass in the Charleston covers the tactical side.
Step 8: Second Charleston and Courtesy Pass (Optional)
After the first Charleston, any player may call for a second Charleston and courtesy pass:
If a player is unhappy with their hand, they can suggest a second Charleston (left, across, right in that order).
If all four players agree, the second Charleston proceeds.
If any player declines, play begins immediately.
After the first or second Charleston, a courtesy pass (0–3 tiles across) may happen if all players agree, but this is rare in regular games.
Most casual games stop after the first Charleston. A second Charleston slows setup, so choose based on your table's preference.
Step 9: All Players Examine Their Hands
After the Charleston (or second Charleston, if played), players may now look at their tiles:
Each player arranges their tiles on their rack by type and number (usually Dots, Bams, Craks, then Winds and Dragons).
Players check their hand against the current NMJL card to see if they hold a winning combination.
Players strategize which tiles to discard and which to keep.
East makes the first discard, and play begins.
Before East discards, all four players should confirm they have the correct number of tiles: East 14, everyone else 13. If the count is wrong, stop and recount before play.
Common Mistakes During Setup
Incomplete shuffling: If the wall is not thoroughly mixed, draws are not random. Always shuffle for at least 60 seconds and involve all four players.
Skipping the Charleston: The Charleston is not optional. Every American mahjong game includes it. If a player tries to skip it to start play faster, politely explain that the Charleston is mandatory and part of the official rules.
Dealing the wrong number of tiles: East must end with 14; North, West, and South must each have 13. Recount after the deal to verify. If the count is off by even one tile, recount and identify the error before the Charleston begins.
Looking at tiles before the Charleston is over: This ruins the fairness of the exchange. Enforce the rule that all tiles stay facedown on racks until the third pass is complete.
Misunderstanding wind positions: If players rotate positions at the table instead of maintaining them throughout the session, the game becomes confusing. Decide before setup: are you rotating wind positions game-to-game, or staying in one seat? Stick to one method for the entire session.
Using incomplete or mismatched sets: If you're mixing tiles from two different sets, verify that all tiles are present and identical in size and thickness. Mismatched sets can jam during draws or create visible patterns.
Timing and Workflow
Most setups take 8–12 minutes from unopened boxes to the start of play. Here's a rough breakdown:
Assign seats: 1 minute
Sort and shuffle tiles: 2–3 minutes
Build the wall: 1 minute
Roll dice and deal: 2 minutes
Conduct first Charleston: 3–4 minutes
Examine hands and begin play: 1 minute
Once your table is familiar with setup, you'll speed up. After 5–10 games, most players can complete setup in under 8 minutes.
Checklist Before Play
Before East makes the first discard, confirm:
☐ All four players are seated at assigned wind positions
☐ All 160 tiles were mixed and dealt
☐ East has 14 tiles; North, West, South each have 13
☐ The first Charleston (right, across, left) has been completed
☐ All players have looked at their tiles and arranged them by suit/rank
☐ All players have access to the current NMJL card
☐ The discard area on the mat is clear
If any item is incomplete, address it before play starts. A few extra minutes of setup prevents disputes later.
Next Step
Now that you understand setup and the Charleston, you're ready to learn the core mechanic of play: how to build pungs, kongs, quints, and sextets, the identical-tile groups that form the foundation of every winning hand. In guide #8, we'll show you how these groups work, why the White Dragon (Soap) doubles as zero, and how flowers and jokers fit into your strategy.
More in Level 2 — Set up & the Charleston
Ready to play at your own table?
Engraved 160-tile American mahjong sets, mats and racks — free shipping across the US.


View More
View More
View More
