
Building the Wall and Breaking It: Dice, Walls and the Deal
Last updated: Nov 18, 2026
Mahjong Rules Guide › Level 2 — Set up & the Charleston · Guide 8 of 25
Once the four players are seated by direction, the tiles are shuffled and stacked into a square wall, then broken using a dice roll. From that break, the dealer (East) receives 14 tiles and the other three players receive 13 each. This deal sets up the game for the Charleston, where the real play begins.
The Wall: Building It Right
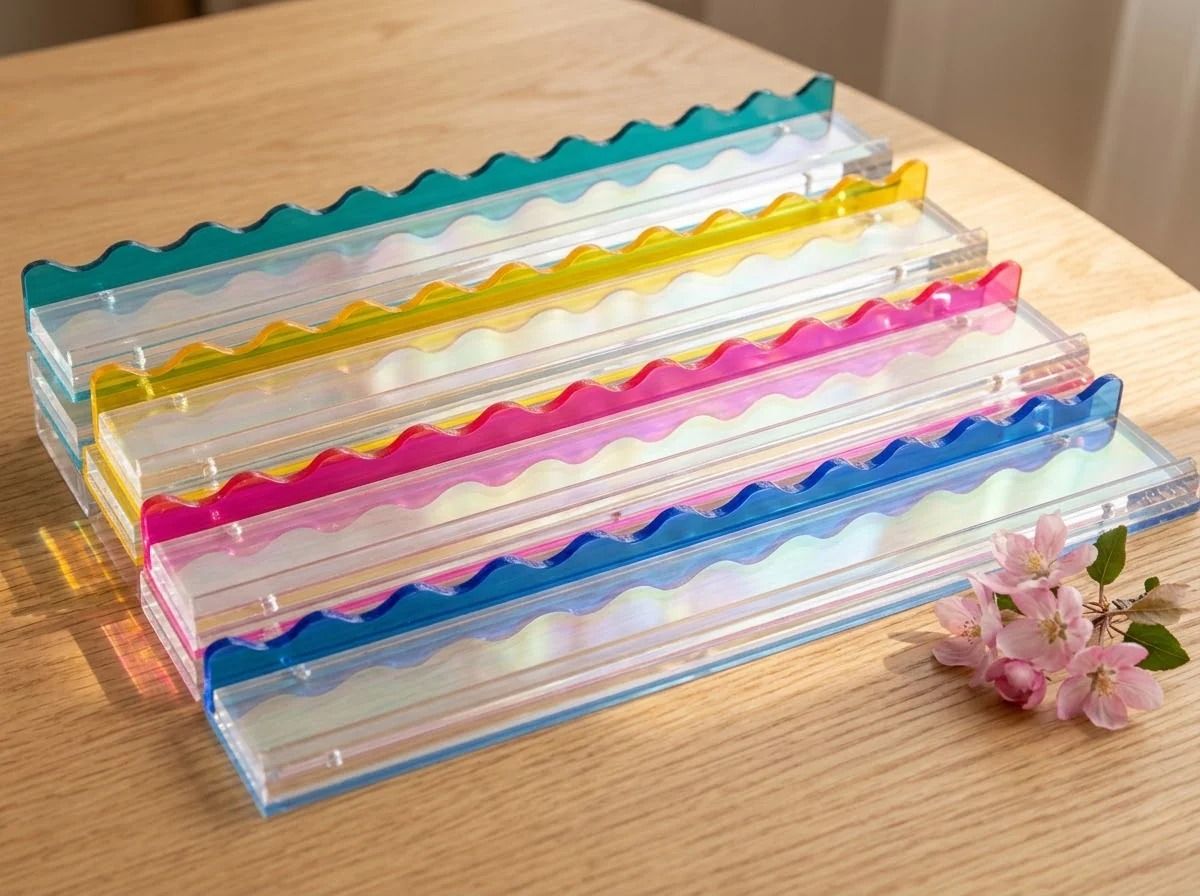
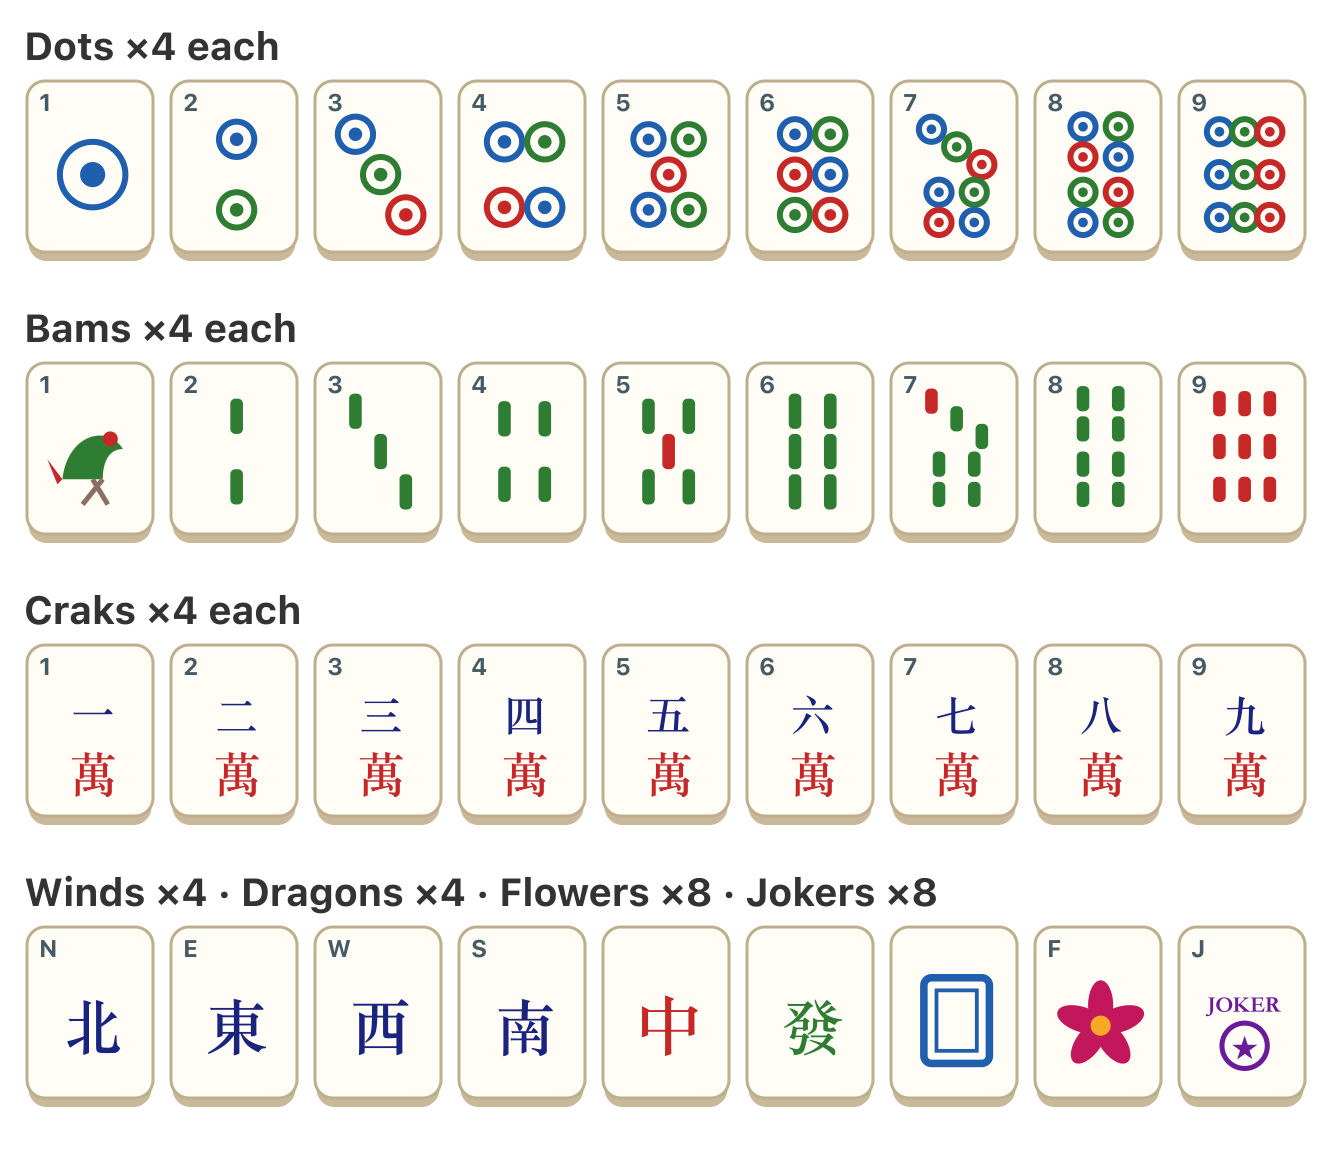
The wall is built by stacking all 152 tiles (or 160 if your set includes spares) face-down in front of each player. Here's how:
Shuffle all tiles thoroughly on the mat. Mix them well—this is your randomizer.
Each player builds a section. Going around the table, each of the four players takes turns placing tiles on the mat directly in front of them, creating two stacks of 19 tiles each (or fewer, depending on your set size). These stacks form the player's section of the wall.
Arrange into a square. Once all tiles are stacked, the four sections combine to form a closed square, with North's wall on the north side, East's on the east side, and so on. Each side of the square shows the wall's edge—tiles are stacked two high, face-down, so the top of each tile is visible but its face is hidden.
All tiles face down. No player should see any tile's face until it is properly drawn.
The wall is built before the dice roll. It does not move during setup.
The Dice Roll: Breaking the Wall
The dealer (East) rolls two dice. The total (2–12) tells the group where to break the wall and begin dealing.
How the Dice Roll Works
East rolls both dice and adds them.
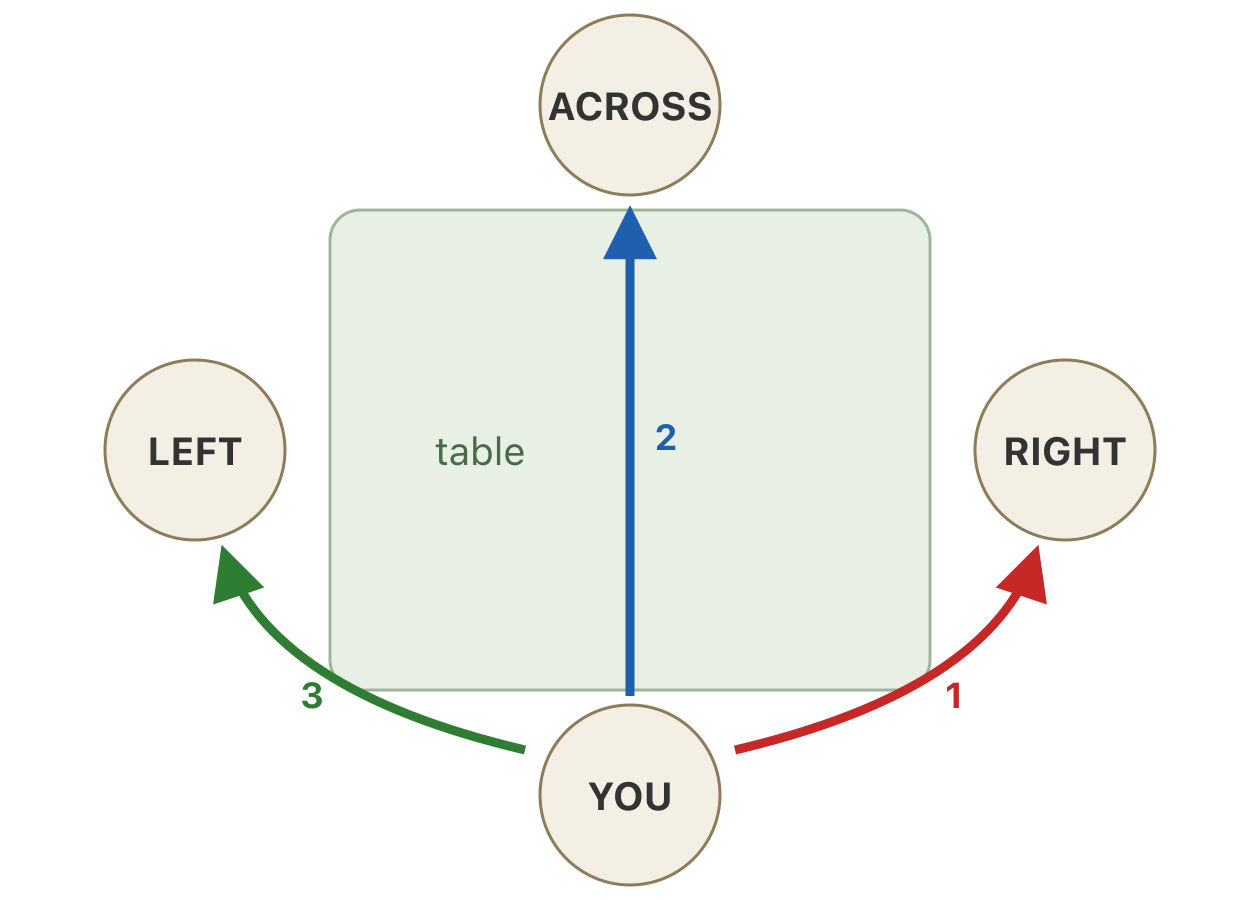
Count around the wall. Start counting from East's right hand (which is South's wall section), and count clockwise the number of stacks shown on the dice. For example, if the dice show 7, count 7 stacks clockwise from South's wall. If the dice show 11, count 11 stacks.
Mark the break point. The stack you land on is the break. Tiles will be drawn starting from the stack to the left (or "above," away from the dealer's table edge) of the break stack.
Example: Dice Show 5
East rolls and gets 5 (say, 3 + 2). Counting clockwise from South's wall section: stack 1 (South), 2 (South/West border), 3 (West), 4 (West/North border), 5 (North). The break is at North's 5th stack. Tiles are drawn from North's 6th stack and moving counterclockwise around the wall—meaning the dealing begins from the stack just before the break.
Most players count in pairs of stacks (each "stack" is actually two tiles high), so the dice roll tells you how many pairs to count. This is why the dice roll ranges meaningfully from 2 to 12: it ensures the wall is always broken at a different location.
Dealing Tiles: East Gets 14, Others Get 13
After the wall is broken, tiles are drawn in a precise order. Why East starts with 14 tiles is a core rule: East draws first and last, giving the dealer a small advantage balanced by their obligation to pay slightly more if they lose.
The Draw Sequence
Starting player: East. From the break point (specifically, from the stack just before the break), East draws the top two tiles (i.e., two tiles from the topmost layer of the pair stack they are drawing from). These go into East's mahjong racks with pushers.
South draws two tiles from the next stack moving counterclockwise around the wall.
West draws two tiles.
North draws two tiles.
Round 2, 3, 4, 5: East, South, West, North each draw two more tiles, continuing counterclockwise around the wall.
Round 6: East draws one tile (not two). This is East's 14th tile. East now has 14 tiles in hand.
Round 6: South, West, North each draw two more tiles. Each now has 13 tiles.
Total tiles dealt: East 14, South 13, West 13, North 13 = 53 tiles. The remaining tiles stay in the wall and are drawn during play as players discard and draw.
Organizing Your Hand
As soon as you receive your tiles, place them in the rack face toward you. Arrange them by suit and number, or in any order that helps you spot pairs, pungs, kongs, quints, and sextets. Leave room in the rack to rearrange as you play.
Gear for this step
Practising building the wall and breaking it? It's easier with the right setup — see our mahjong racks with pushers.
Common Mistakes
Building the wall after determining East: Always build the wall before rolling the dice. The wall is neutral until it is broken.
Counting the dice roll incorrectly: The dice show a number of stacks (pairs), not individual tiles. A roll of 7 means the 7th pair of stacks, not the 7th tile. Also, always count clockwise from East's right (South's wall), not from East's own wall.
Drawing from the wrong end of the wall: Once the break is marked, tiles are drawn from the stack just before (counterclockwise from) the break. If you draw from the break itself, the count is off and the hand is redealt.
East drawing 13 tiles by mistake: East draws two tiles in rounds 1–5 (10 tiles), then one tile in round 6 (1 tile), then rounds 6 draws of South, West, North continue with two tiles each. East's total: 14. Double-check before the Charleston begins.
Revealing a tile's face during the deal: Tiles must stay face-down in the wall until drawn. If a tile is accidentally exposed, it is usually marked and buried in the wall in a set position; play continues.
Common Questions on the Deal
Can we re-roll the dice if we don't like where the break lands? No. The dice roll is final. The break point is where the math takes you.
What if there aren't enough tiles in the wall to complete the deal? This is extremely rare with 152 tiles. If it happens, the hand is redealt from scratch. Reshuffle and break again.
Must we use two dice, or can we use one? Two dice is standard; it gives a range of 2–12 and distributes breaks more evenly around the wall. One die would give 1–6 and create uneven dealing patterns. Stick with two.
Do all four players draw at the same time, or in order? In order, clockwise: East draws two, then South, then West, then North. Repeat five times, then East draws one. This sequence is deliberate and must not be rushed or skipped.
What is the purpose of the extra tiles in the Mahstead 160-tile set? Extra tiles (8 Jokers total, or extra blanks) allow for replacement if a tile is lost, cracked, or damaged during play. They are not used during setup or the deal—only the standard 152 are counted.
Next Step
Now that the wall is broken and tiles are dealt, the game is ready for the Charleston—the three-part mandatory pass where you exchange unwanted tiles with other players. Guide #9 walks through each pass in detail, showing you what to pass and when to stop the passing round. After the Charleston (and the optional courtesy pass), you will look at the card and begin forming your hand.
FAQ
Why does East draw 14 tiles while others draw 13?
East (the dealer) draws first and last, earning one extra tile. This small advantage is balanced by East's obligation to pay slightly higher scores if they lose. It is the core rule of the dealer position.
If the dice show 12, do we count all the way around the wall?
Yes. Twelve stacks is roughly three-quarters of the way around the wall (since the wall has 38 stacks total—roughly). The break lands wherever the math takes it. This distribution randomizes the starting point on every hand.
Can we re-roll if we roll a 2 and don't like the break location?
No. The dice roll is binding. If you want randomness, that randomness is part of the game's fairness. Every hand gets a different break point.
What if a tile is accidentally flipped during the build or deal?
Mark it (or set it aside) and continue with the deal. The exposed tile is usually buried or returned to the wall in a neutral location. House rules vary; decide before the game starts.
Do we draw tiles one at a time, or two at a time?
Two at a time, per player per round (except East's final draw, which is one tile). This speeds the deal and prevents errors in counting.
Why count from East's right (South's wall) and not from East's own wall?
Counting from East's right ensures the break is distributed fairly around the wall on every hand. Starting from East's own wall would bias the break toward East's side, making the deal less random.
More in Level 2 — Set up & the Charleston
Ready to play at your own table?
Engraved 160-tile American mahjong sets, mats and racks — free shipping across the US.


View More
View More
View More
